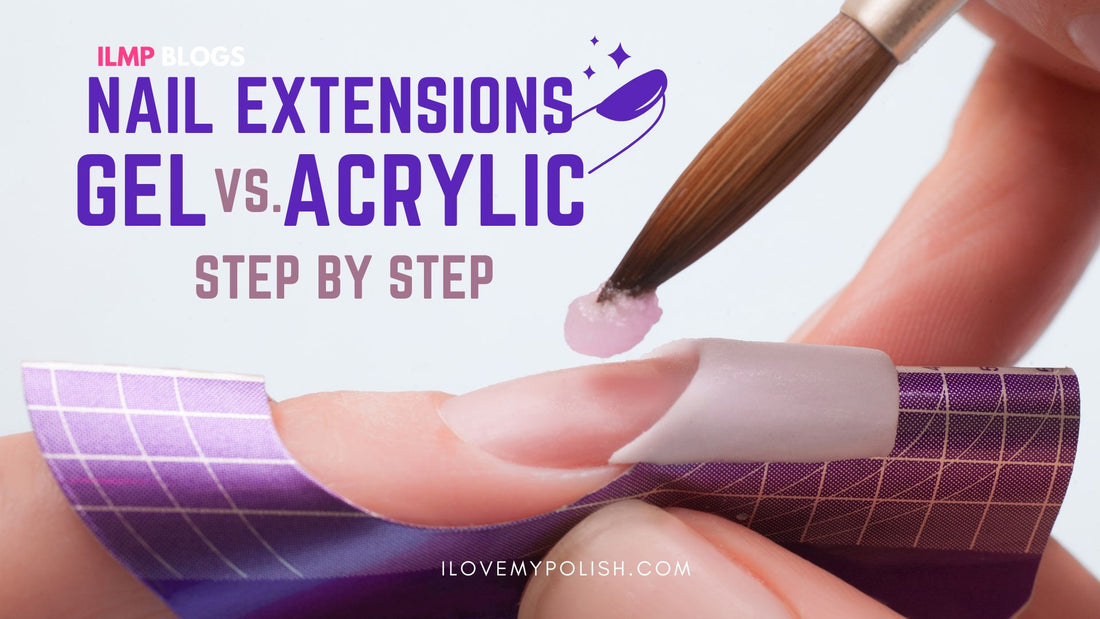
Dreaming of salon-worthy nail extensions? Look no further! With our beginner's guide, you can achieve stunning gel and acrylic nail extensions from the comfort of your own home. Discover the step-by-step process for each technique and unleash your inner nail artist. But before we begin, it's essential to be aware of the precautions involved, especially when using UV lamps.
If you're a nail enthusiast looking to achieve long and glamorous nails, nail extensions are the perfect solution. With the choice between gel and acrylic systems, you can create stunning nail extensions right at home. In this beginner's guide, we will walk you through the step-by-step process of doing both gel and acrylic nail extensions, highlighting the key differences between the two techniques.
Essential Products for Gel Nail Extensions:
To create gel nail extensions, you'll need the following additional products:
- Builder Gel: A thick, self-leveling gel used to build and shape the extensions.
- UV/LED Lamp: Required for curing the gel under the lamp's specific wavelength.
- Gel Cleanser: Used to remove the sticky residue from the cured gel.
Step-by-Step Guide to Gel Nail Extensions:
- Prepare Your Natural Nails: Trim, shape, and push back your cuticles using a cuticle pusher.
- Apply Nail Dehydrator and Primer: Apply a nail dehydrator to remove moisture from your natural nails, followed by a primer to enhance adhesion.
- Attach Nail Tips: Apply a small amount of nail glue onto the back of a gel nail tip and press it onto your natural nail, starting from the cuticle area and moving towards the free edge.
- Apply Builder Gel: Using a gel brush, apply the builder gel onto the nail tips, building the desired thickness and shape. Cure the gel extensions under the UV/LED lamp according to the manufacturer's instructions.
- File, Buff, and Smooth: Once the gel extensions are cured, use a nail file to shape and refine the edges. Buff the surface to create a smooth finish.
- Apply Gel Polish and Top Coat: Apply a base coat, gel polish in your preferred color, and finish with a top coat. Cure each layer under the UV/LED lamp.
- Cleanse and Moisturize: Cleanse the nails with a gel cleanser and lint-free wipes to remove any sticky residue. Moisturize the cuticles and surrounding skin with a nourishing nail oil.
Essential Products for Acrylic Nail Extensions:
To create acrylic nail extensions, you'll need the following additional products:
- Acrylic Powder: A mixture of polymer and monomer that forms a paste to create the extensions.
- Acrylic Liquid (Monomer): The liquid component that combines with the acrylic powder to create a workable paste.
- Acrylic Brush: Specifically designed for acrylic application, with a flat, square-shaped brush head.
Step-by-Step Guide to Acrylic Nail Extensions:
- Prepare Your Natural Nails: Trim, shape, and push back your cuticles using a cuticle pusher.
- Apply Nail Dehydrator and Primer: Apply a nail dehydrator to remove moisture from your natural nails, followed by a primer to enhance adhesion.
- Attach Nail Tips: Apply a small amount of nail glue onto the back of an acrylic nail tip and press it onto your natural nail, starting from the cuticle area and moving towards the free edge.
- Create the Acrylic Mixture: Dip the acrylic brush into the acrylic liquid and then into the acrylic powder, forming a bead of acrylic paste on the brush.
- Apply the Acrylic Paste: Place the acrylic paste onto the nail surface, near the cuticle area. Gently press and pat the paste to create the desired shape and thickness. Repeat for each nail.
- Shape and Refine: Once the acrylic has dried and hardened, use a nail file to shape and refine the extensions, removing any excess product.
- Buff and Smooth: Buff the surface of the acrylic extensions.
Important Note: Handling UV Lamps Safely:
When using UV lamps for gel nail extensions, it's crucial to prioritize safety. UV lamps emit ultraviolet rays, which can potentially cause harm if not used correctly. Follow these precautions to protect yourself and ensure a safe experience:
Eye Protection: Wear UV-protective goggles or sunglasses designed for UV exposure while using the UV lamp.
Time Management: Adhere to the recommended curing times specified by the gel manufacturer. Avoid overexposure to UV light by following the suggested durations.
Proper Ventilation: Ensure that your workspace is well-ventilated during the curing process. If possible, position the lamp near a window or use a portable fan to minimize exposure.
Maintenance and Replacement: Regularly clean the UV lamp according to the manufacturer's instructions. If the lamp's bulbs are damaged or not functioning correctly, replace them promptly.