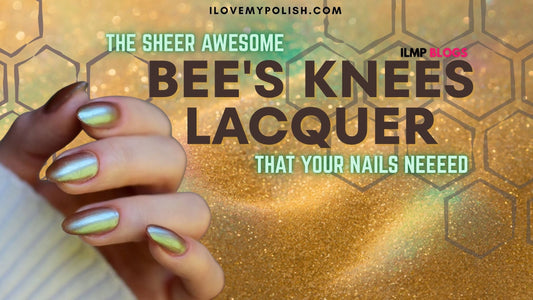
There are many nail powders available to achieve a sparkly look. My top three picks if you want to DIY are:
- Mylar: big dots/flakes of beautiful iridescent nail glitter (colourful holographic glitter sequins mix)
- Glitter: shiny specks of nail powder (colourful holographic sequins nail glitter mix)
- Shimmer: fine shiny dust


All these powders come in various shapes, sizes and colours. They all look beautiful and mesmerizing, and they are also quite long lasting.
You will need the following products to ensure that you get the look and finish right:
- Sanitizer
- Base coat (G.C peel of base coat )
- Nail polish (Nehbelle Biotin Colossus Nail Lacquer Polishes)
- Glitter (Colourful Holographic Sequins Nail Glitter Mix)
- Top coat (Kyth and Kin top coat)
- Brush ( Clean up brush for nail art )
Step 1:
Nail prep: Sanitise your hands. Clean, trim & file your nails. Push back the cuticles gently.
Step 2:
Application: There are two primary techniques to sparkle it up! Sparkle All Over as the name suggests will leave your full nail covered in glitter. This is a super glam look that works great for parties, weddings, and such social events. The other technique, called Falling Glitter, is slightly more subtle. Your glitter will be applied in something similar to an ombre effect, more concentrated at one end, and gradually reducing towards the other. This technique is well suited if you want to sport it for an extended period and have it work well with different outfits and events.
SPARKLE ALL OVER
- Apply a base coat evenly on the entire nail.
- While still wet, dip your nail in the pot of glitter, laying it flat over the surface. Roll it back & forth to cover the sides.
- Tap your finger to remove any extra powder. You can also press it lightly with your finger to fix it in place.
- Use a wet brush to wipe off any loose powder around the cuticles.
- Apply at least 2 top coats to give an even finish. Let dry completely.


TIPS & TRICKS:
You can mix any 2-3 powders to give a fabulous look! Eg.: Mix & spread gold mylar with red/pink glitter on a piece of foil. Repeat the same process as above; this time laying your nail flat on the foil & rolling it till it is covered uniformly.
FALLING GLITTER
- Apply base coat. Let dry.
- Apply your favourite nail colour. Let dry.
- Take some glitter (you can mix powders in this method also) on a piece of foil.
- Add some top coat to it.
- With the help of a brush, take the glitter + top coat mix & apply on your nail, starting from the base, building it upwards in a random way. The glitter should be more concentrated down, decreasing as you go upwards.
- Press lightly with finger.
- Apply two top coats. Let dry.


TIPS & TRICKS:
You can use any one of the two methods explained below for these designs.
- Top coat in the desired area & dab in glitter pot. Shake off excess powder.
- Apply glitter on the desired area using top coat + glitter mix with a brush.
- Seal nicely with 2 top coats.


