Calling all nail enthusiasts! Are you tired of chipped polish and endless salon visits? Dive into the world of gel polishes and unlock the secrets to stunning, chip-resistant manicures that last for weeks. At ilovemypolish.com, we're passionate about empowering you to achieve salon-quality nails from the comfort of your home. So, grab your favorite gel polishes (we have a vibrant collection to explore!), and let's get started!
Gel vs. Regular Polish: A Game Changer
Unlike traditional polishes that dry by evaporation, gel polishes work their magic through a light-activated curing process. This translates to:
- Dazzling Durability: Say goodbye to chips and smudges! Gel polishes boast 2-3 weeks of wear, perfect for busy lifestyles and special occasions.
- Mirror-Like Shine: The high-gloss finish of gel polishes creates a captivating, professional look that turns heads.
- Flawless Flexibility: No more worrying about smudging while drying. Gel polishes cure quickly under a lamp, allowing you to get back to your day without a hitch.

But wait, there's more! Gel polishes open doors to a world of creative nail art possibilities. From elegant French tips to playful polka dots, intricate designs, and dazzling gradients, the options are endless. Let your imagination run wild and unleash your inner nail artist!
Shining a Light on Gel Polishes
Unlike their traditional counterparts, gel polishes boast a unique curing process. Instead of air-drying, they solidify under a UV or LED lamp, forming a super-strong, durable film that can last for weeks. This magic lies in a photo-initiator, activated by light, that triggers a polymerization reaction, locking the polish into place.

Why the Mysterious Blackout? The Science Behind Opaque Bottles
Ever wondered why gel polishes hide behind dark glass? It's all about preserving their potency! Gel polishes are light-sensitive, meaning premature exposure to sunlight can initiate curing and leave you with unusable goo. Opaque bottles shield them from light, ensuring they stay fresh and ready to paint your perfect mani.

Gel Polish Manicure at Home: Your DIY Nail Salon
Ready to embark on your gel polish journey? Here's a quick guide to get you started:
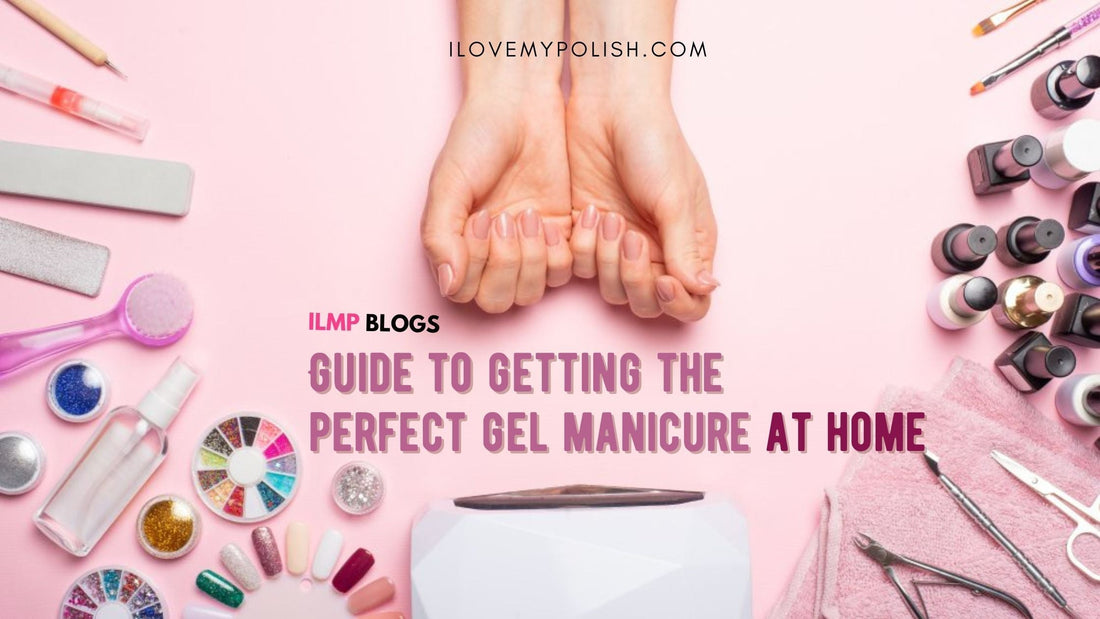
1. Gather your tools:
- ilovemypolish.com gel polishes (Born Pretty Gel Polish Collection)
- Cuticle oil (Cuticle nail Oil Pen)
- Base coat - ILMP recommends using Canni's Gel Peel Off Base Coat to ensure longevity and nail health, you can peel off whenever you want. No pain, ONLY gain!
- Top coat (Bow Nail Polish-Top Coat)
- LED or UV lamp (available on our website! And what’s more, it’s SUPER affordable!)
- Cuticle pusher and nipper
- Nail file and buffer
- Cotton balls and acetone (for removal)
- Optional: gel polish remover, nail art tools
2. Prep your nails: First, use cuticle oil on your pretty nails so that no harm ever comes to them! Let the cuticle oil sit for a few minutes. Gently push back cuticles, trim and file nails to your desired shape. Buff lightly to remove shine and create a smooth surface for better adhesion.

3. Apply base coat: Paint a thin layer of base coat and cure under the lamp (follow product instructions for specific curing times).
4. Color magic: Apply two thin coats of your chosen gel polish, curing each layer under the lamp. Remember, thin coats are key for even application and preventing smudging.
5. Unleash your creativity: Now comes the fun part! Explore nail art designs using additional gel polishes, striping tape, stencils, or even glitter. Let your imagination flow!
6. Seal the deal: Finish with a generous layer of top coat and cure it under the lamp. This final layer protects your design and adds an extra touch of shine.
7. Removal: Gel polish removal requires soaking in acetone. We recommend using a gentle gel polish remover to minimize damage to your nails.

Pro Tips for Flawless Gel Manicures:
- Use high-quality gel polishes like those from ilovemypolish.com! Our polishes are formulated for long-lasting wear and vibrant color.
- Apply thin coats and avoid overloading your brush. Multiple thin coats are better than one thick one.
- Cap the tips of your nails with each coat to prevent chipping.
- Clean up any mistakes immediately with a cotton swab dipped in acetone before curing.
- Don't over-file your nails, as this can weaken them.
- Give your nails a break between gel manicures to allow them to breathe and recover.
With a little practice and these helpful tips, you'll be a gel polish pro in no time! Explore the vast collection of gel polishes at ilovemypolish.com, unleash your creativity, and enjoy the magic of long-lasting, beautiful manicures from the comfort of your home!
If you loved our blog, do check our page ilovemypolish.com.
We offer a wide variety of nail polishes, nail accessories and nail art supplies. A page which has one stop solution for all your nail needs.
If you have reached so far, don't forget to follow on Instagram ilovemypolish_shop.
Subscribe and follow for updates and interesting blogs on nails, nail art ideas, interesting facts on nails, nail care tips and tricks.


