We've all experienced the frustrating moment when a beloved nail breaks unexpectedly. It can feel like a setback, especially if you've been nurturing and growing your nails. However, fear not! With the magic of gel polish, you can repair and restore your broken nail to its former glory. In this comprehensive guide, we'll walk you through the process of fixing a broken nail using gel polish. Get ready to say goodbye to nail mishaps and hello to flawless nails once again!
Step 1: Gather Your Supplies
Before you begin the nail repair process, make sure you have the necessary supplies at hand. Here's what you'll need:
- Nail file: Opt for a gentle file with a fine grit to ensure a smooth finish.
- Nail buffer: Use a buffer to smoothen the nail's surface and create an even canvas for the gel polish application.
- Gel base coat: Apply a high-quality gel base coat to ensure long-lasting adhesion.
- Builder gel or gel nail extension kit: If your nail is severely broken or requires extra reinforcement, consider using a builder gel or a gel nail extension kit.
- LED or UV lamp: Gel polish requires curing under a specialized lamp, so ensure you have one compatible with the gel you're using.
- Gel polish: Choose your favorite gel polish shade or a suitable color to match your natural nail.
- Gel top coat: Finish off your repair with a durable and glossy gel top coat.
- Cuticle oil: Hydrate and nourish your cuticles after the repair process.
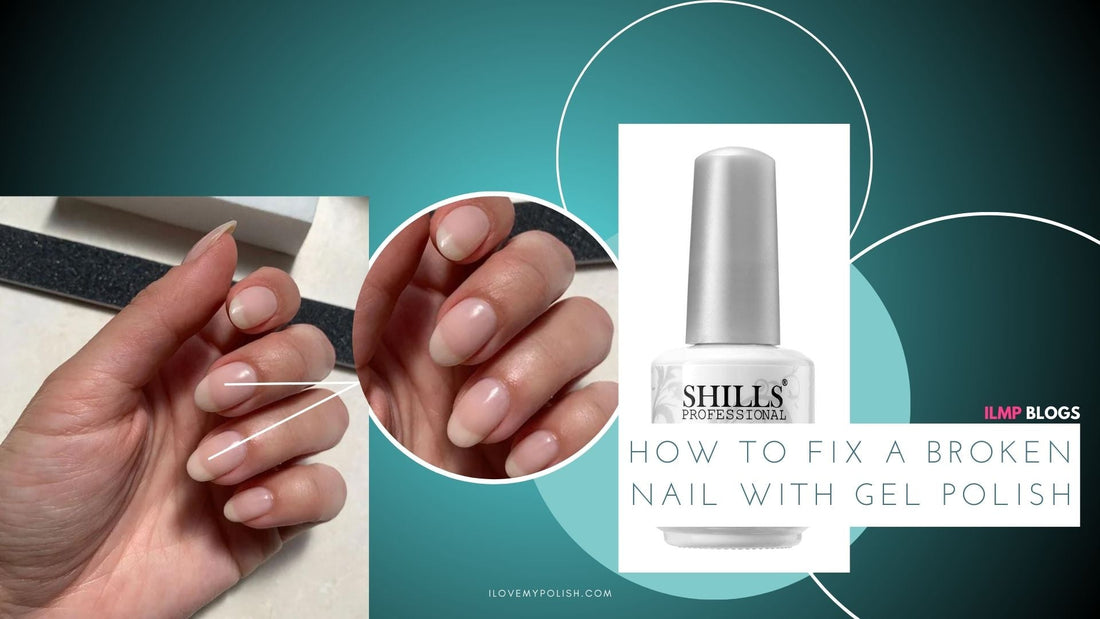
Step 2: Prepare Your Nail

Start by gently filing the broken nail to even out any jagged edges. Be cautious not to file too aggressively, as this can weaken the nail further. Use a buffer to smooth the surface of the nail, removing any roughness. Ensure your nail is clean and free from any residue or oils before moving on to the next step.
Step 3: Apply the Base Coat

Apply a thin, even layer of the gel base coat to your entire nail, including the broken area. The base coat will promote better adhesion and help prevent further breakage. Remember to cap the edges of your nail to ensure long-lasting results. Cure the base coat under your LED or UV lamp according to the manufacturer's instructions.
Step 4: Repair the Broken Nail
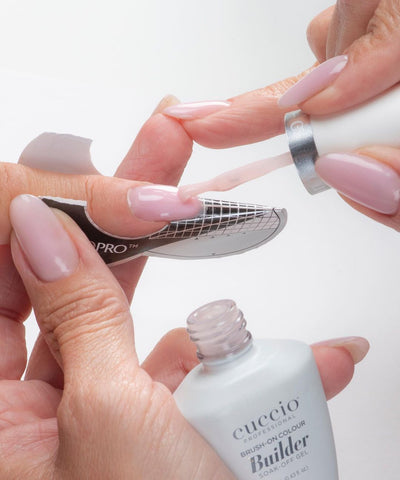
If your nail is significantly broken, you can use a builder gel or a gel nail extension kit to reinforce and rebuild the damaged area. Follow the instructions provided with the product to create a seamless extension or mend the break. Be patient and meticulous during this step to achieve a natural-looking repair.
Step 5: Apply Gel Polish

Once your nail is repaired or if it only requires minor touch-ups, it's time to apply the gel polish. Begin with a thin layer of your chosen gel polish shade, starting from the base of the nail and working towards the tip. Make sure to cover the repaired area completely. Cure each layer of gel polish under the lamp before applying the next one. Repeat this process until you achieve the desired opacity.
Step 6: Seal and Protect
To ensure a long-lasting and chip-free finish, apply a thin layer of gel top coat over the entire nail. Pay special attention to capping the edges to prevent premature lifting. Cure the top coat under the lamp for the recommended time.
Step 7: Final Touches
Once your nails are fully cured, gently wipe away any residue with a lint-free nail wipe soaked in isopropyl alcohol. Finish the repair process by nourishing your cuticles with a few drops of cuticle oil. Massage the oil into your cuticles to promote healthy nail growth.
Thanks to gel polish, a broken nail no longer needs to be a cause for distress. By following this step-by-step guide, you can restore and repair your nails with ease. Remember, practice makes perfect, so don't be discouraged if your first attempt isn't flawless. With time and patience, you'll become a pro at repairing broken nails with gel polish. Say hello to strong, beautiful nails once again, courtesy of "I Love My Polish" and your newfound nail repair skills!
If you loved our blog, do check out our other blogs on our page ilovemypolish.com.
Obsessed with nails? You're in the right place! We're your go-to for every nail need imaginable – gorgeous polishes, essential accessories, and all the nail art goodies you crave. Find us on Instagram @ilovemypolish_shop for your daily dose of nail inspiration and stay tuned for our exciting blogs!